

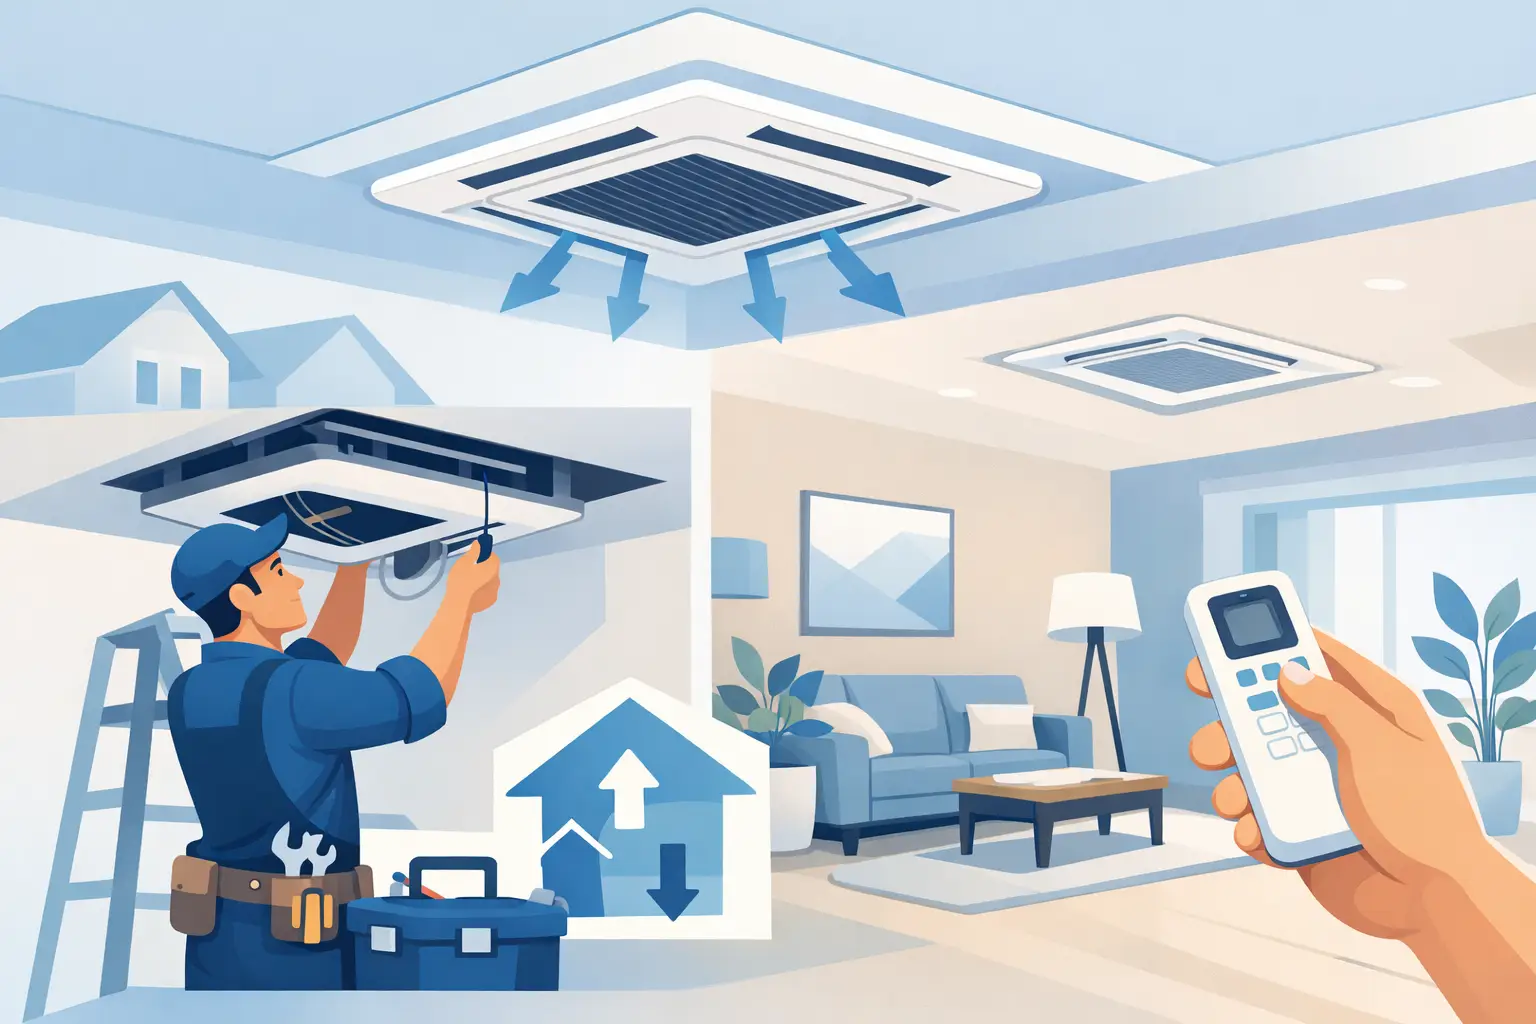
A ceiling cassette can cool a large room without taking up wall space, but the finished result depends on what happens above the ceiling. This ceiling cassette installation guide explains the planning, installation, and commissioning stages that help a cassette unit deliver even airflow, reliable drainage, and efficient operation.
Unlike a standard wall-mounted system, a cassette indoor unit sits within a false ceiling and distributes air in multiple directions. That makes it a practical option for open living areas, offices, retail spaces, meeting rooms, and other rooms where appearance and balanced air distribution matter. It also means the installation must be coordinated carefully with ceiling structure, electrical work, refrigerant piping, condensate drainage, and access for future service.
Start With the Right System Size
System capacity should be based on the room’s real cooling load, not only its square footage. Ceiling height, window exposure, insulation, occupancy, lighting, heat-producing equipment, and the way a space is used all affect the required capacity.
An oversized unit may cool the room quickly but cycle too often, reducing humidity control and potentially increasing wear. An undersized unit can run continuously without reaching the desired temperature. For businesses, an inaccurate load calculation can also create uneven comfort across customer areas, workstations, or meeting spaces.
The cassette should be matched with a compatible outdoor unit and controls. This is especially relevant for multi-zone, VRF, and VRV systems, where pipe lengths, elevation differences, branch connections, and the combined capacity of connected indoor units must follow the equipment manufacturer’s requirements.
Choose a Location That Supports Performance
A cassette should usually be centered to provide clear airflow across the room. The selected position needs enough space above the ceiling for the unit body, refrigerant connections, drain components, electrical connections, and insulation. It must also avoid beams, pipes, fire protection equipment, and other obstructions.
Airflow direction matters. Avoid positioning the cassette where supply air will blow directly onto a bed, desk, dining table, or fixed seating area. A technician should also consider doors, large windows, and areas with strong solar heat gain. The goal is comfortable circulation, not a cold draft in one spot and stagnant air in another.
The ceiling itself needs attention. A decorative ceiling panel is not designed to carry the operating weight of an indoor unit. The cassette must be supported from a suitable structural element using approved hangers, rods, brackets, and vibration-control components. Proper support keeps the unit level and helps prevent noise, movement, and drainage issues over time.
Confirm Service Access Before Closing the Ceiling
A cassette unit needs maintenance access. Filters must be removed and cleaned, drain components may need inspection, and technicians need a safe way to reach electrical terminals, the condensate pump, and refrigerant connections when service is required.
An access panel should be sized and located for the specific unit and ceiling layout. Skipping this step may make a future cleaning or repair far more disruptive and expensive because ceiling sections may need to be opened. For commercial properties, access planning is also useful for reducing downtime during routine maintenance.
Ceiling Cassette Installation Guide: Core Work Stages
Professional installation follows a controlled sequence. The exact order can vary by equipment type and building conditions, but the key work areas remain the same.
First, the technician verifies dimensions, structural support points, clearances, and the route to the outdoor unit. The indoor unit is then mounted level on its support system. Leveling is not cosmetic. A unit that tilts can cause condensate to collect incorrectly and may lead to water leakage from the panel.
Next, refrigerant piping is routed between the indoor and outdoor components. Lines must be correctly sized, protected from physical damage, and fully insulated to reduce heat gain and condensation. Pipe joints require precise workmanship. Poor connections can lead to refrigerant leakage, lower cooling output, higher energy use, and repeated service calls.
The condensate drain is installed with the correct slope wherever gravity drainage is possible. If the system requires a condensate pump, the float switch, discharge route, and safety controls must be tested. Drainage is one of the most common causes of indoor water damage, so this stage should never be treated as a minor detail.
Electrical wiring is completed according to the equipment documentation and applicable electrical codes. This includes correct circuit protection, grounding, cable sizing, communication wiring, and isolation provisions. Refrigerant handling and electrical work should be performed by qualified HVAC and electrical professionals, not treated as a homeowner project.
Finally, the decorative panel, louvers, and controls are fitted after the unit is secure and the connections have been checked. The panel should sit flush with the ceiling and allow the intake grille and filters to be removed without difficulty.
Commissioning Is Where Installation Quality Shows
A newly mounted cassette is not ready for handover until it has been commissioned. This is the stage that confirms the system operates as designed rather than simply turning on.
The installer should pressure-test the refrigerant piping, evacuate the system correctly, and verify that the refrigerant charge meets the manufacturer’s specifications. They should test cooling performance, measure supply and return air temperatures where appropriate, check current draw, confirm control operation, and listen for unusual vibration or airflow noise.
Drainage must be tested with water before the ceiling work is considered complete. The technician should confirm that condensate flows freely through the drain route and that the pump activates and stops correctly if one is installed. This simple test can prevent a damaging leak once the system is in regular use.
For a multi-zone or commercial installation, commissioning should also include checking each indoor unit’s address, mode control, and communication with the outdoor unit. If the system is connected to centralized controls or building management equipment, those functions should be verified during handover.
Common Problems to Prevent During Installation
Most cassette problems can be traced back to planning or workmanship rather than the unit itself. Water dripping from the panel may result from an unlevel unit, blocked or poorly sloped drain piping, missing insulation, or a faulty condensate pump. Rattling can be caused by loose supports, a poorly fitted panel, or contact between piping and the ceiling structure.
Weak cooling may point to incorrect system sizing, refrigerant leakage, airflow restrictions, or a mismatch between indoor and outdoor equipment. Uneven temperatures can occur when the cassette is placed too close to an obstruction or when the room layout calls for more than one indoor unit.
There are also design trade-offs. A single four-way cassette may suit an open room, while two smaller units can offer better zoning in a long or irregular layout. A ducted solution may be preferable where visible airflow devices are not desired, but it needs more ceiling space and duct design work. The best option depends on the room, the available ceiling void, and the level of control the occupants need.
Plan for Maintenance From Day One
Ceiling cassettes need routine filter cleaning, coil cleaning when needed, drain inspection, and operational checks. In homes, the schedule depends on usage, pets, renovation dust, and indoor air quality. In offices, retail spaces, kitchens, or high-occupancy areas, more frequent servicing may be necessary because filters and coils collect contaminants faster.
Do not wait for water leaks, odors, reduced airflow, or unusual sounds before arranging service. Regular maintenance helps preserve cooling efficiency and identifies developing drainage or electrical issues before they interrupt comfort or business operations.
For property owners and facility managers, the practical decision is to treat installation and maintenance as one plan. A properly sized cassette, a serviceable ceiling layout, careful drainage work, and a qualified commissioning process give the system its best chance to provide quiet, dependable cooling for years.